Embroidery Mockup Photoshop
How to storyboard in Photoshop
Storyboarding in Photoshop can be a great way to get your ideas mapped out. In this workshop we'll be learning about Layer Comps and how this Photoshop tool can help you speed up your workflow and organisation for (but not limited to) storyboarding. My aim is to highlight this menu set, explain how layer comps work and convince you to try them out. We'll be starting this workshop with the assumption that we have thumbnails and a story locked, and that you're ready to dive into the drawings.
It's important to know that your layer comps are non-destructive: you can always delete them and have your layers just as you painted them. They mainly serve a purpose of viewing your layers differently. Before we start, I'd like to mention that I'll be using a five-panel story here, but you can create as many layer comps as you need for your story.
If you want more tips and tricks, see our Photoshop tutorials, and check out our how to draw lessons.
01. Set up your document
(Image: © Mark Evan Lim)
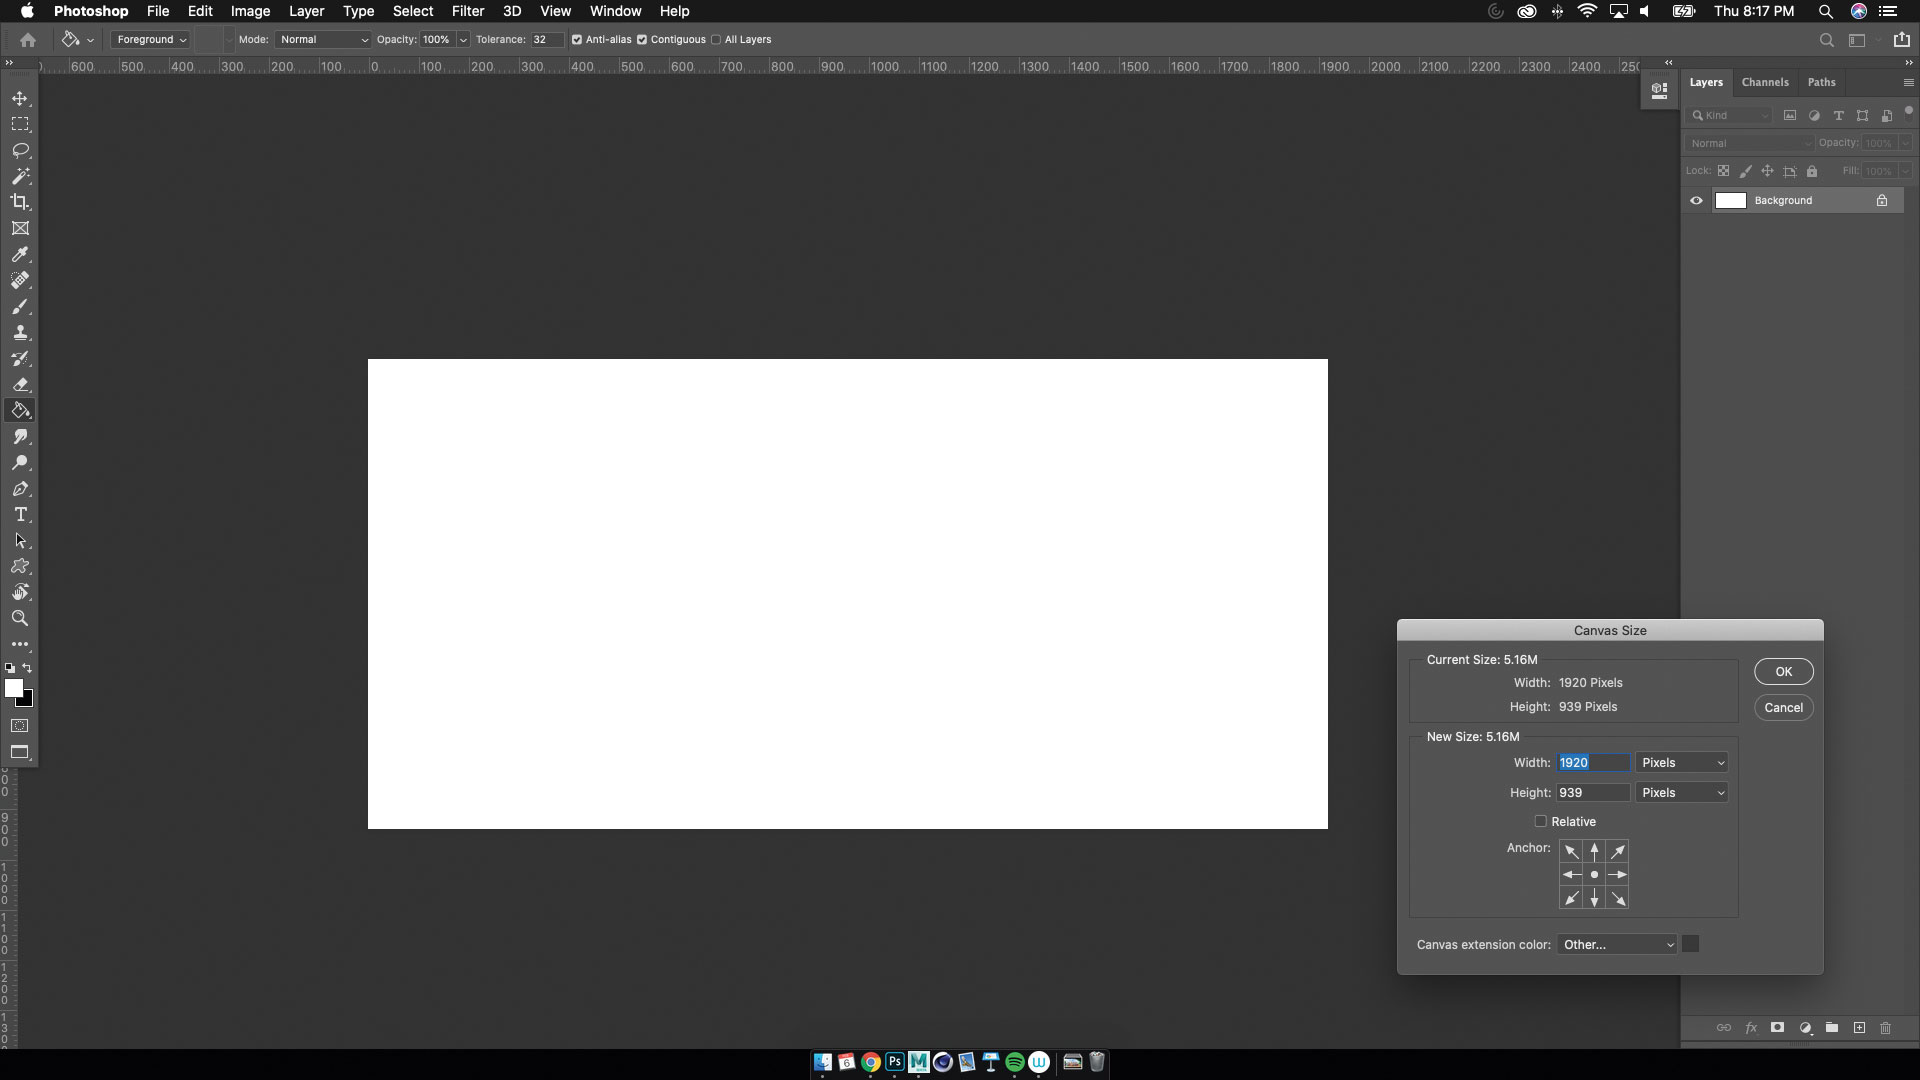
You've got your thumbnails and script ready to go – now it's time to start drawing! I usually start by establishing my aspect ratio. You might want to check the requirements of your project or assignment before you begin. For this workshop, we'll be working in 1,080 x 720, which is a pretty common resolution for most animation projects. Your canvas is set and it's now time to draw!
The best part about the Layer Comps tool is that it can accommodate how you work. No more folders within folders, if you don't like that. It's completely up to you. We'll be working with five panels from an excerpt from a storyboarding project as an example. Making use of the Layer Comps tool will enable you to create, manage and organise multiple layouts within a single Photoshop file. Think of each layer comp as a screenshot of the current layers you have visible.
02. Add text and start your drawing
(Image: © Mark Evan Lim)
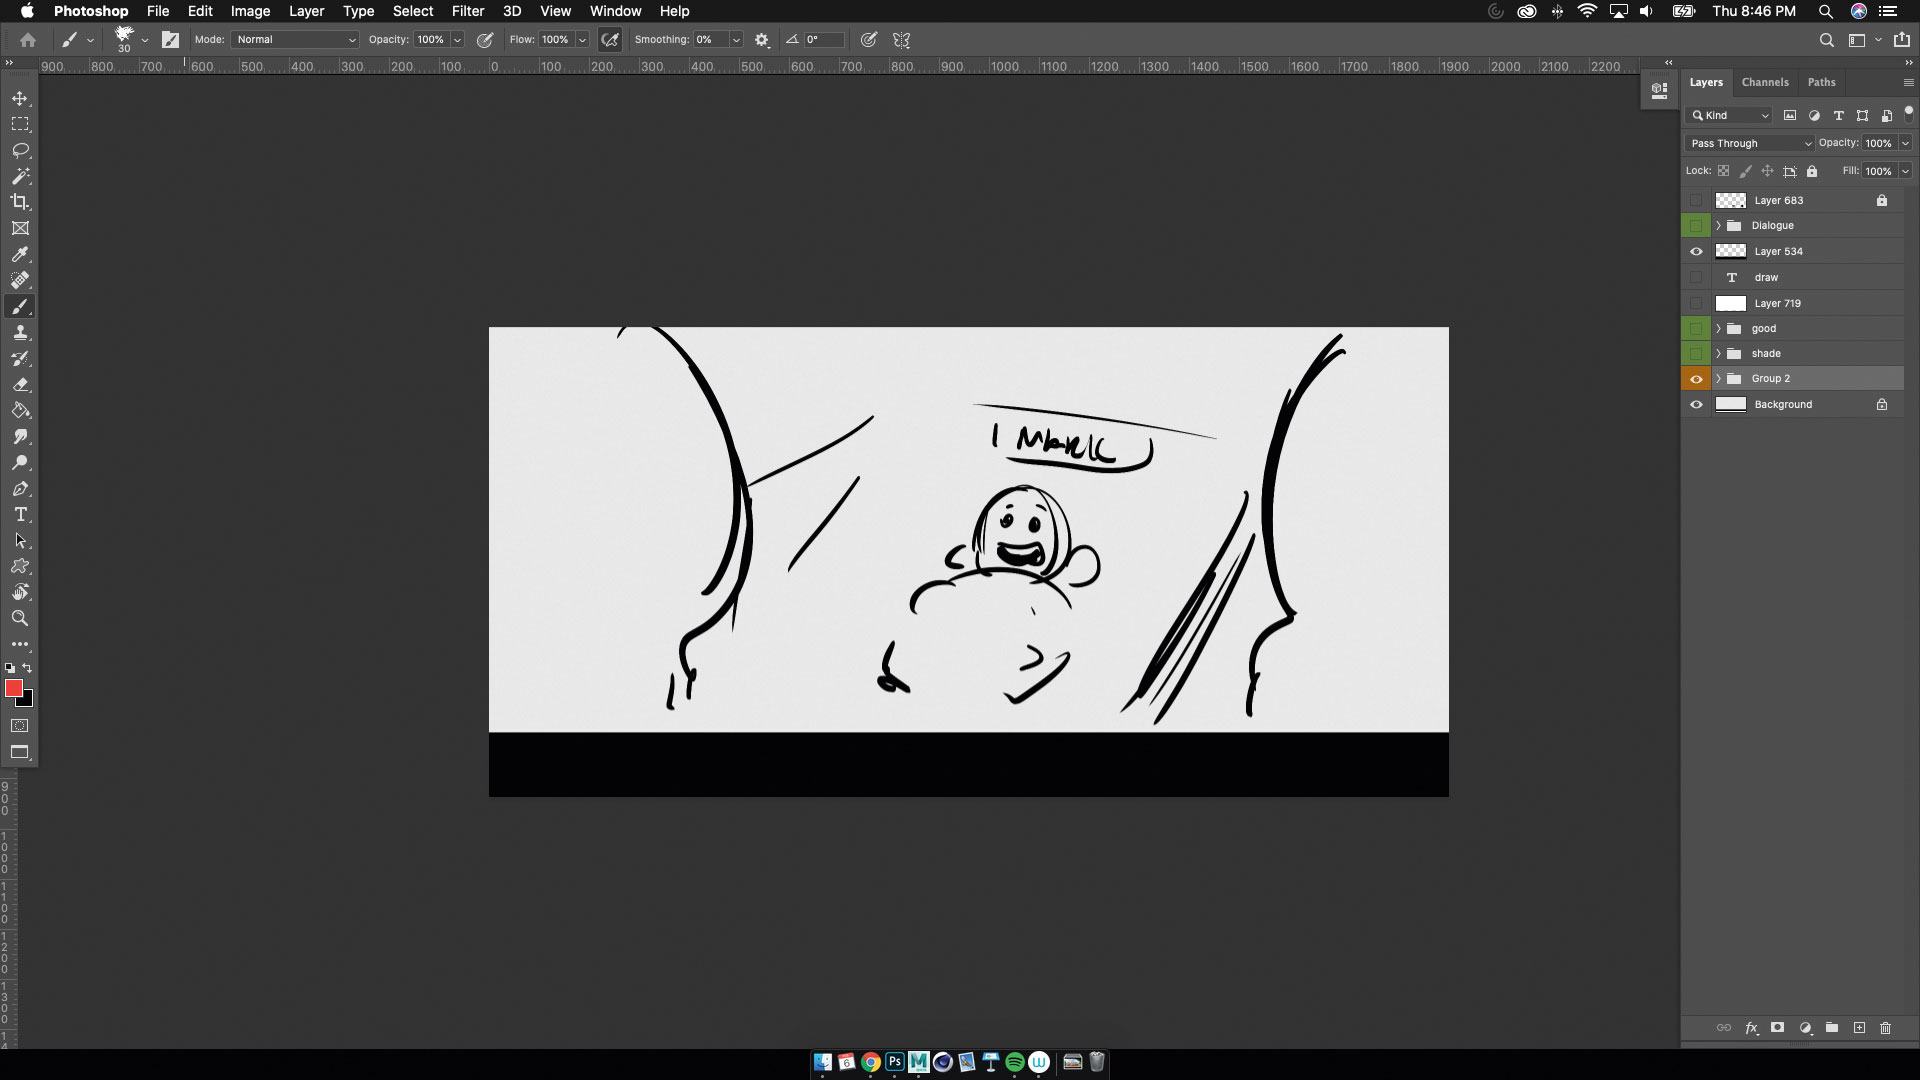
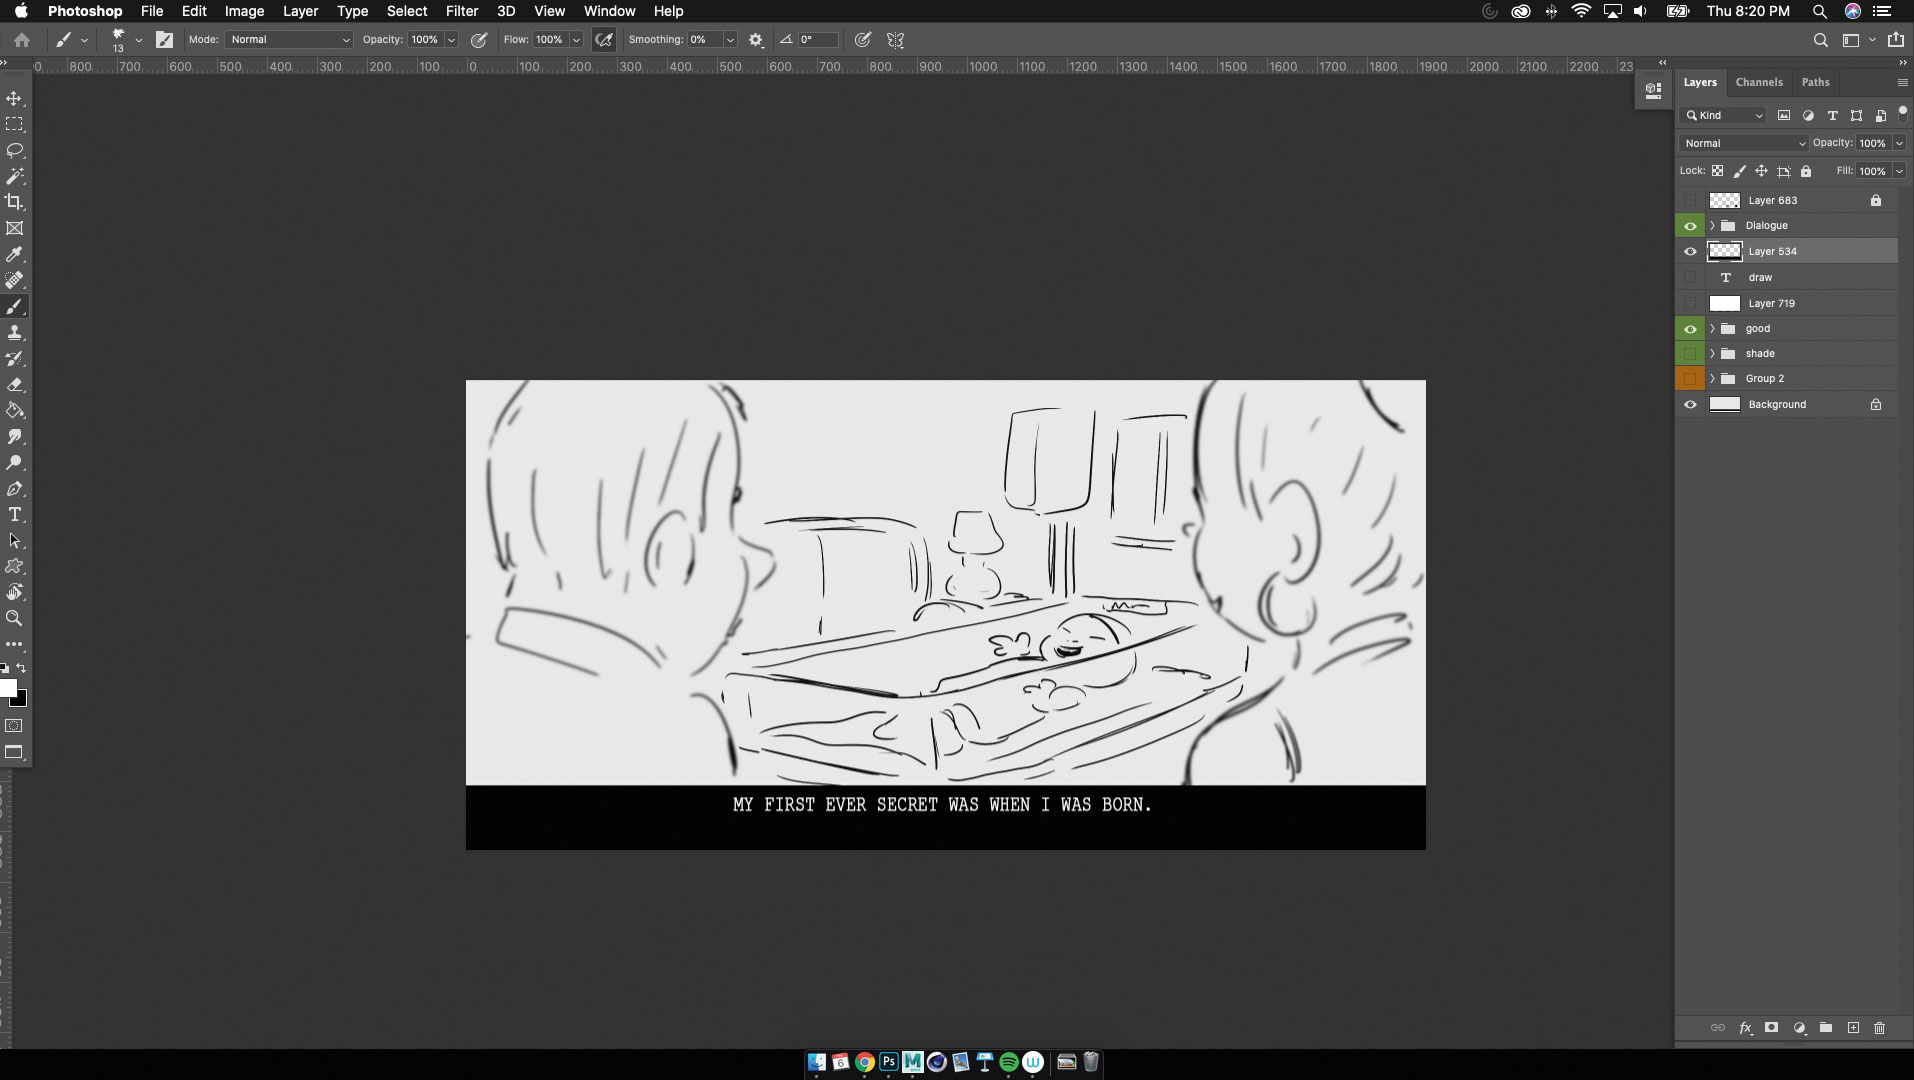
The next step is optional, but if your story has dialogue, I usually block out a black rectangle at the bottom for any text or sound effects that I might use. From here I bring in my thumbnails from the iPad and start cleaning up. When I clean up my drawings, I usually split my layers up from the back to the front (back-, mid- and foreground). It's important to stay organised; this will help with the layer comps later on.
03. Add layers of line art
(Image: © Mark Evan Lim)
Here, I lay down my Line, Tone and Dialogue layers. You can add more layers if necessary, such as an additional Polish layer. It helps to think about your shot like a layered cake and gradually build up from the line work to the tones. Next, it's time to create our layer comps.
04. Explore the Layer Comps window
(Image: © Mark Evan Lim)
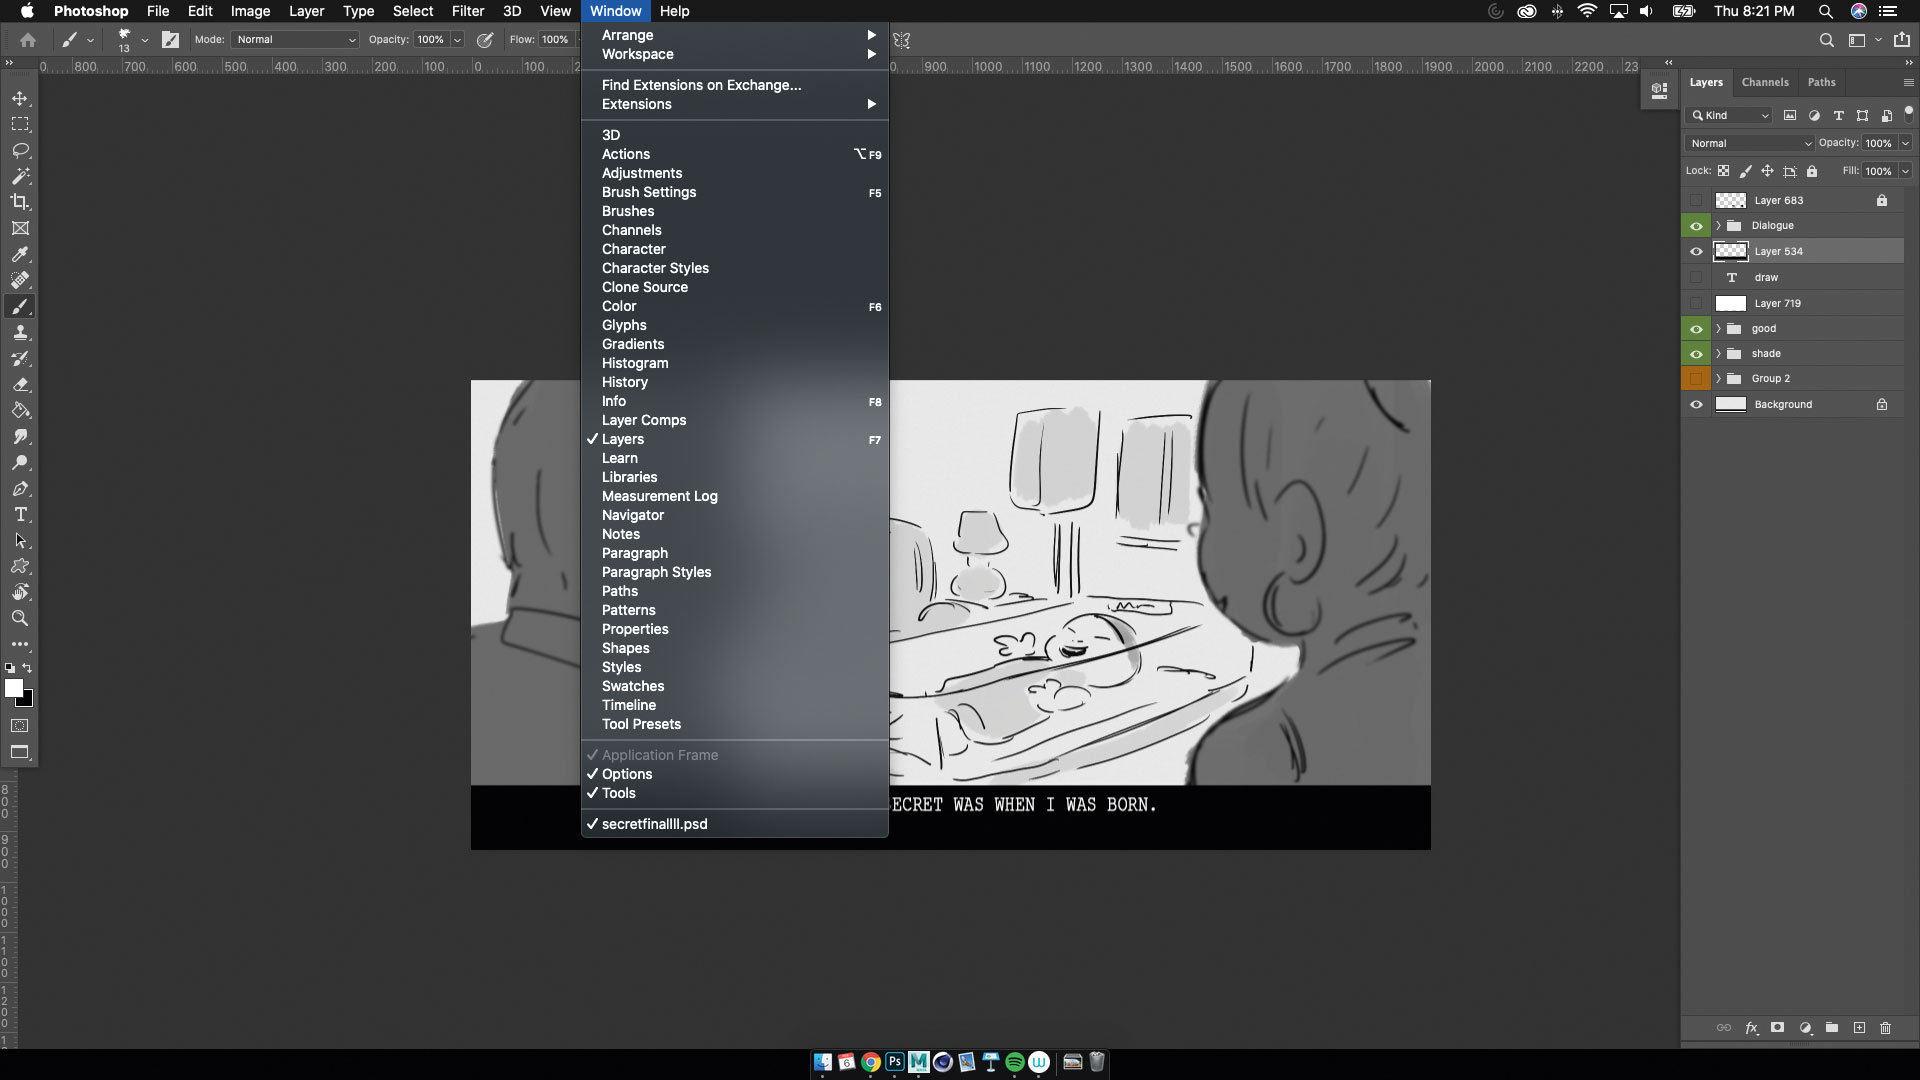
On Photoshop's top toolbar, click Window > Layer Comps and a window will pop out. This is the Layer Comp window that enables you to manage and organise your shots and scenes. The tool gives you the flexibility to rearrange shots, test out breakdowns and edit – all from one panel.
05. Make your first layer comp
(Image: © Mark Evan Lim)
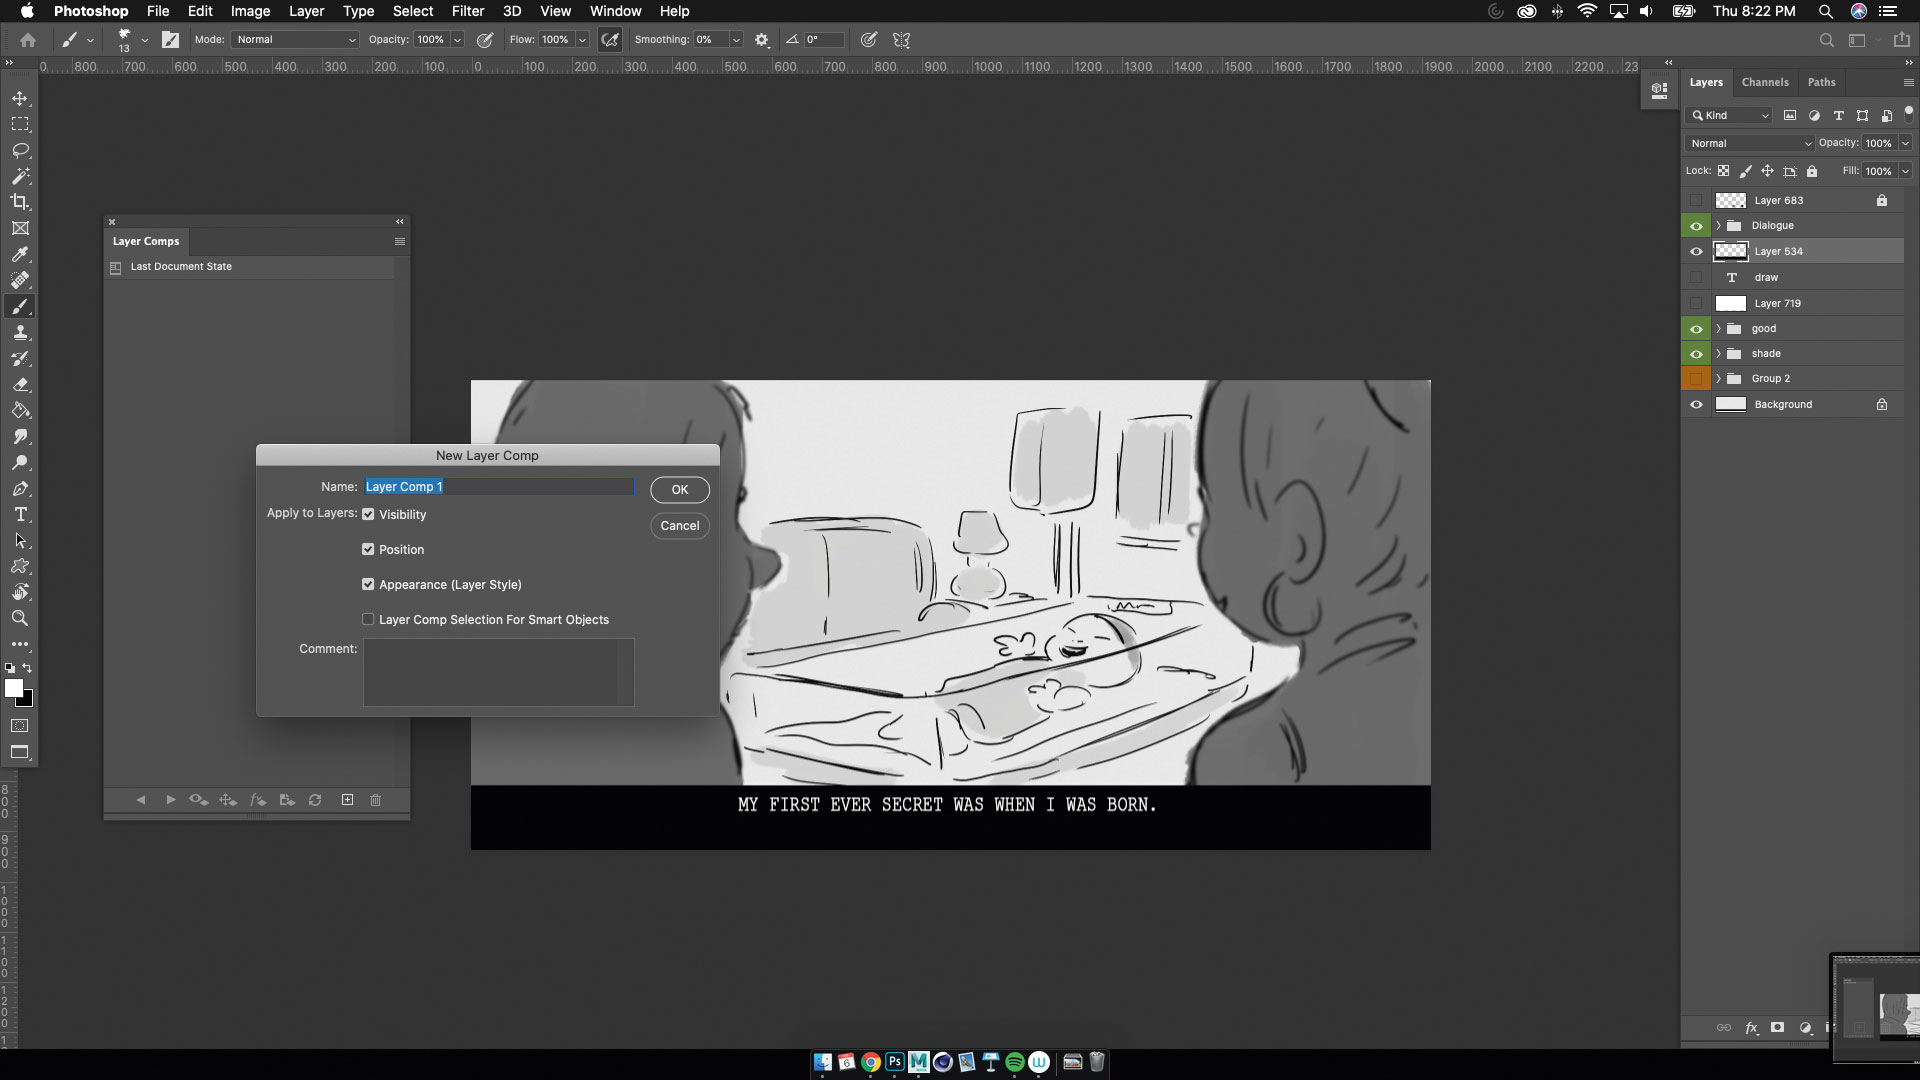
So now that we know a little bit more about layer comps, let's create our first one. Click the plus icon and the window shown above should pop out. This is where you can rename the layer comp. Next, make sure to check the Visibility, Position and Appearance (Layer Style) boxes, and then press OK. Voilà, you have your first layer comp!
06. Do the same for your next panel
(Image: © Mark Evan Lim)
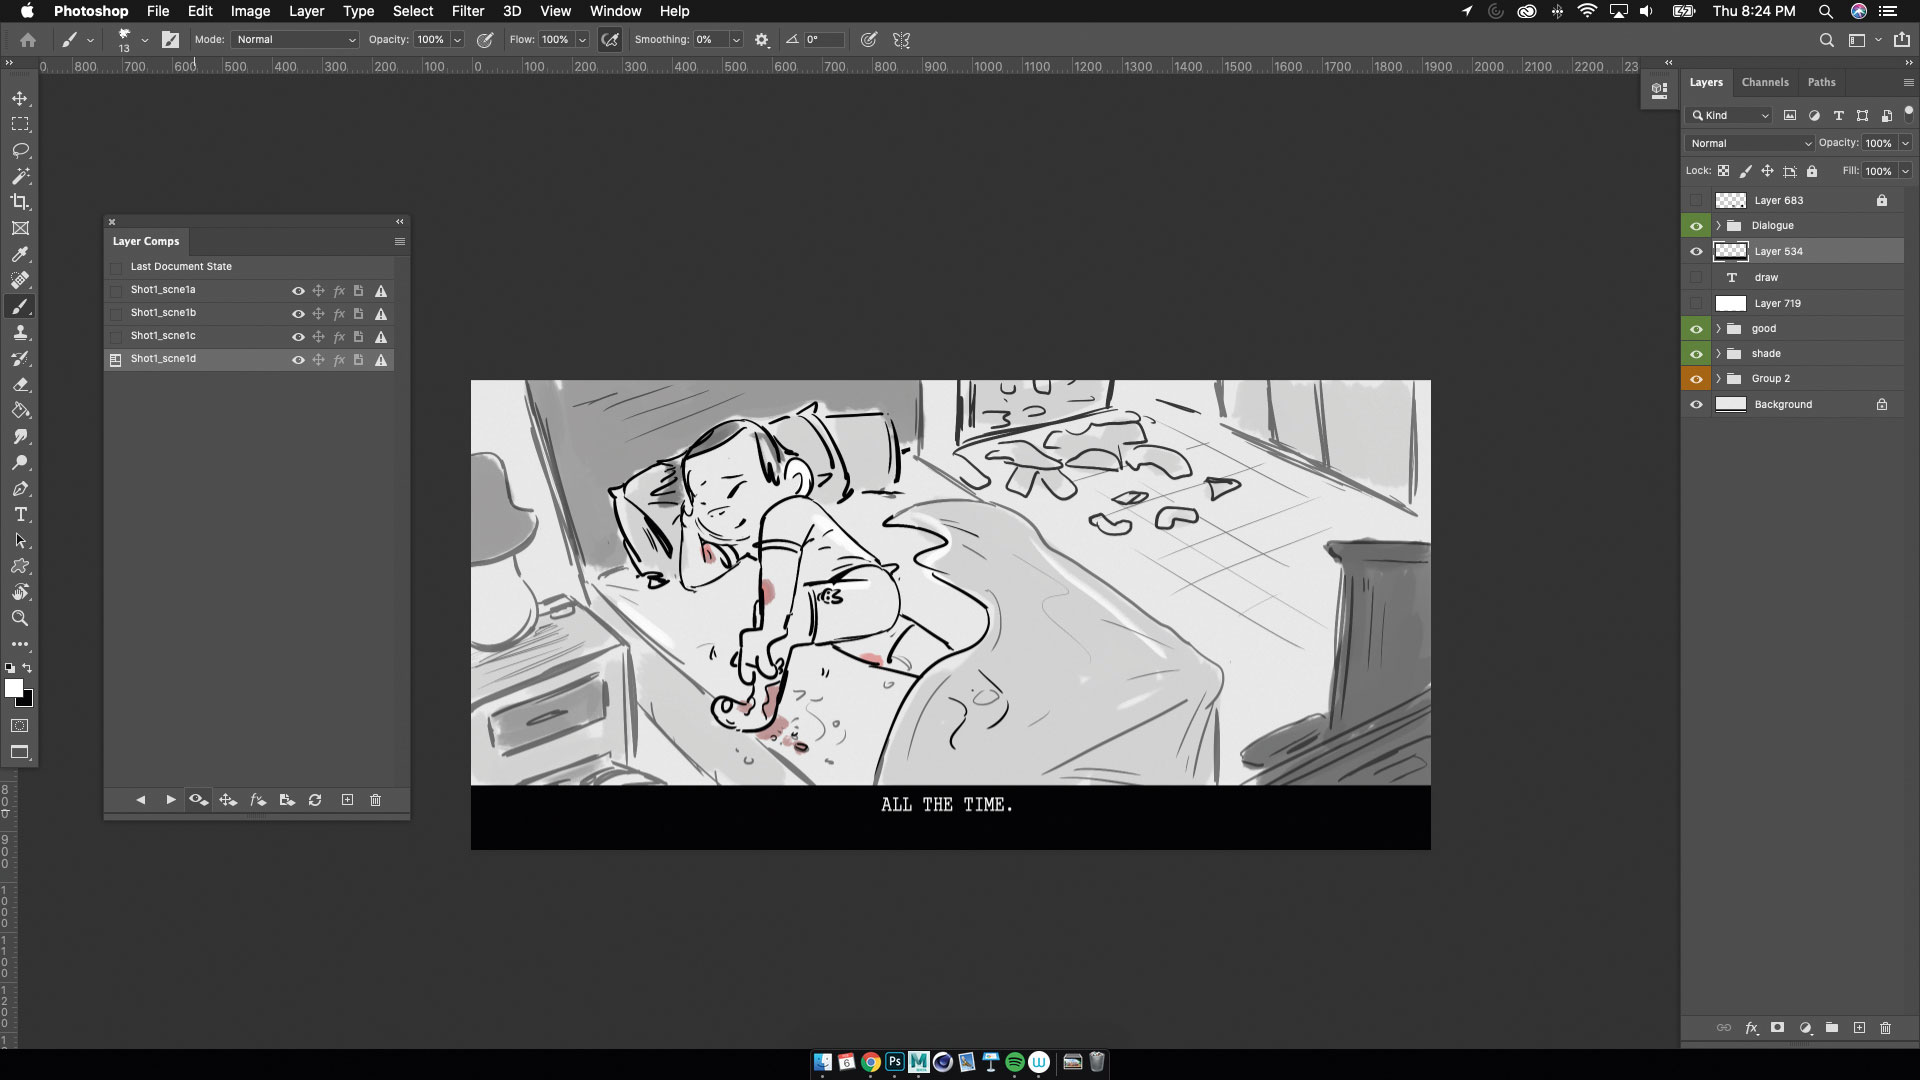
Now you can turn off those layers you just drew and start repeating the steps for your second panel. If you need to reference the panel before, just click the small box next to the layer comp's name and all the layers used in that panel will be turned on. Keep on creating layer comps for every shot until you've finished your story. As you go, you can see how it all looks by pressing the arrow buttons in the Layer Comp window. If you see a exclamation mark next to your layer comp, it means that it hasn't been updated and some of your new layers haven't been added to it.
07. Prepare to export
(Image: © Mark Evan Lim)
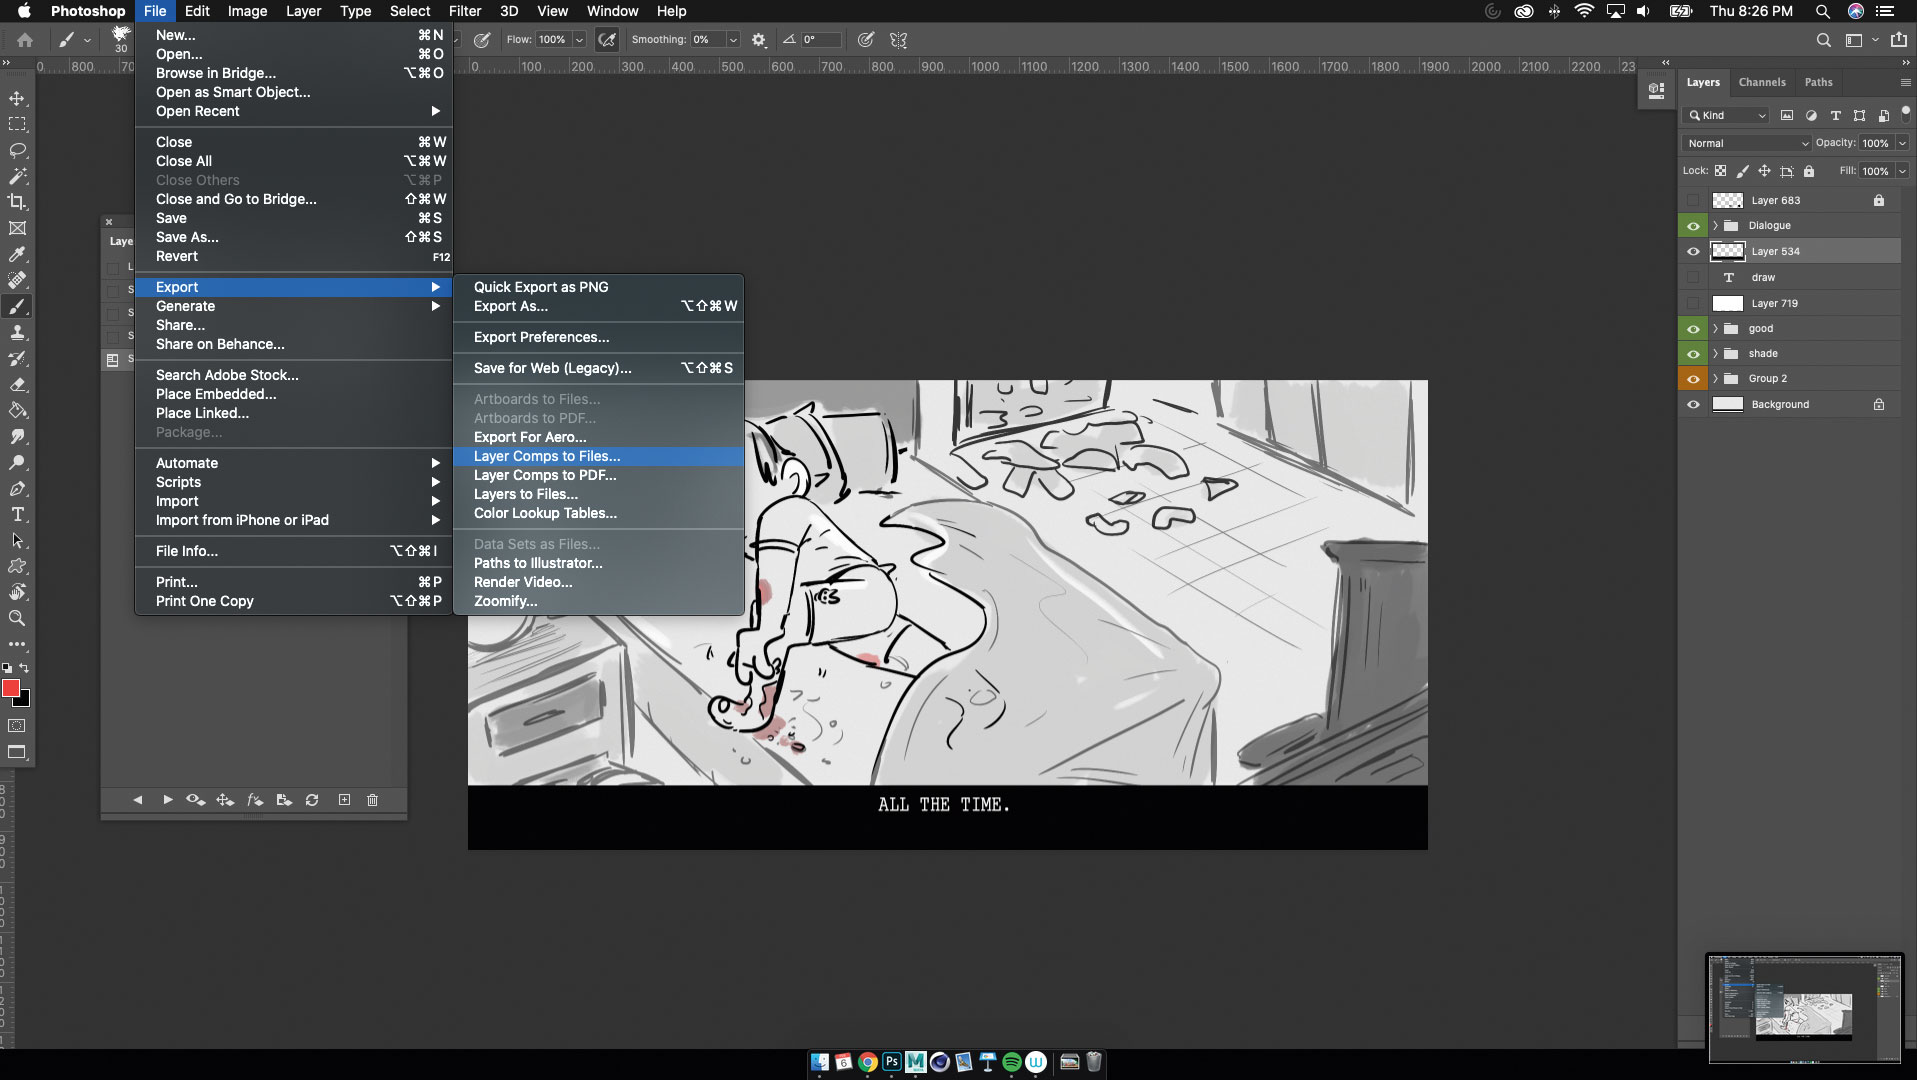
At this stage you have your layer comps and you're ready to export them, so here's how to do it. In a similar fashion to exporting a regular image from Photoshop, select File > Export > Layer Comps to Files. Here you'll be given several options to choose from. These include which directory you want these layer comps to go to, or what file type should these be.
08. Export your layer comps
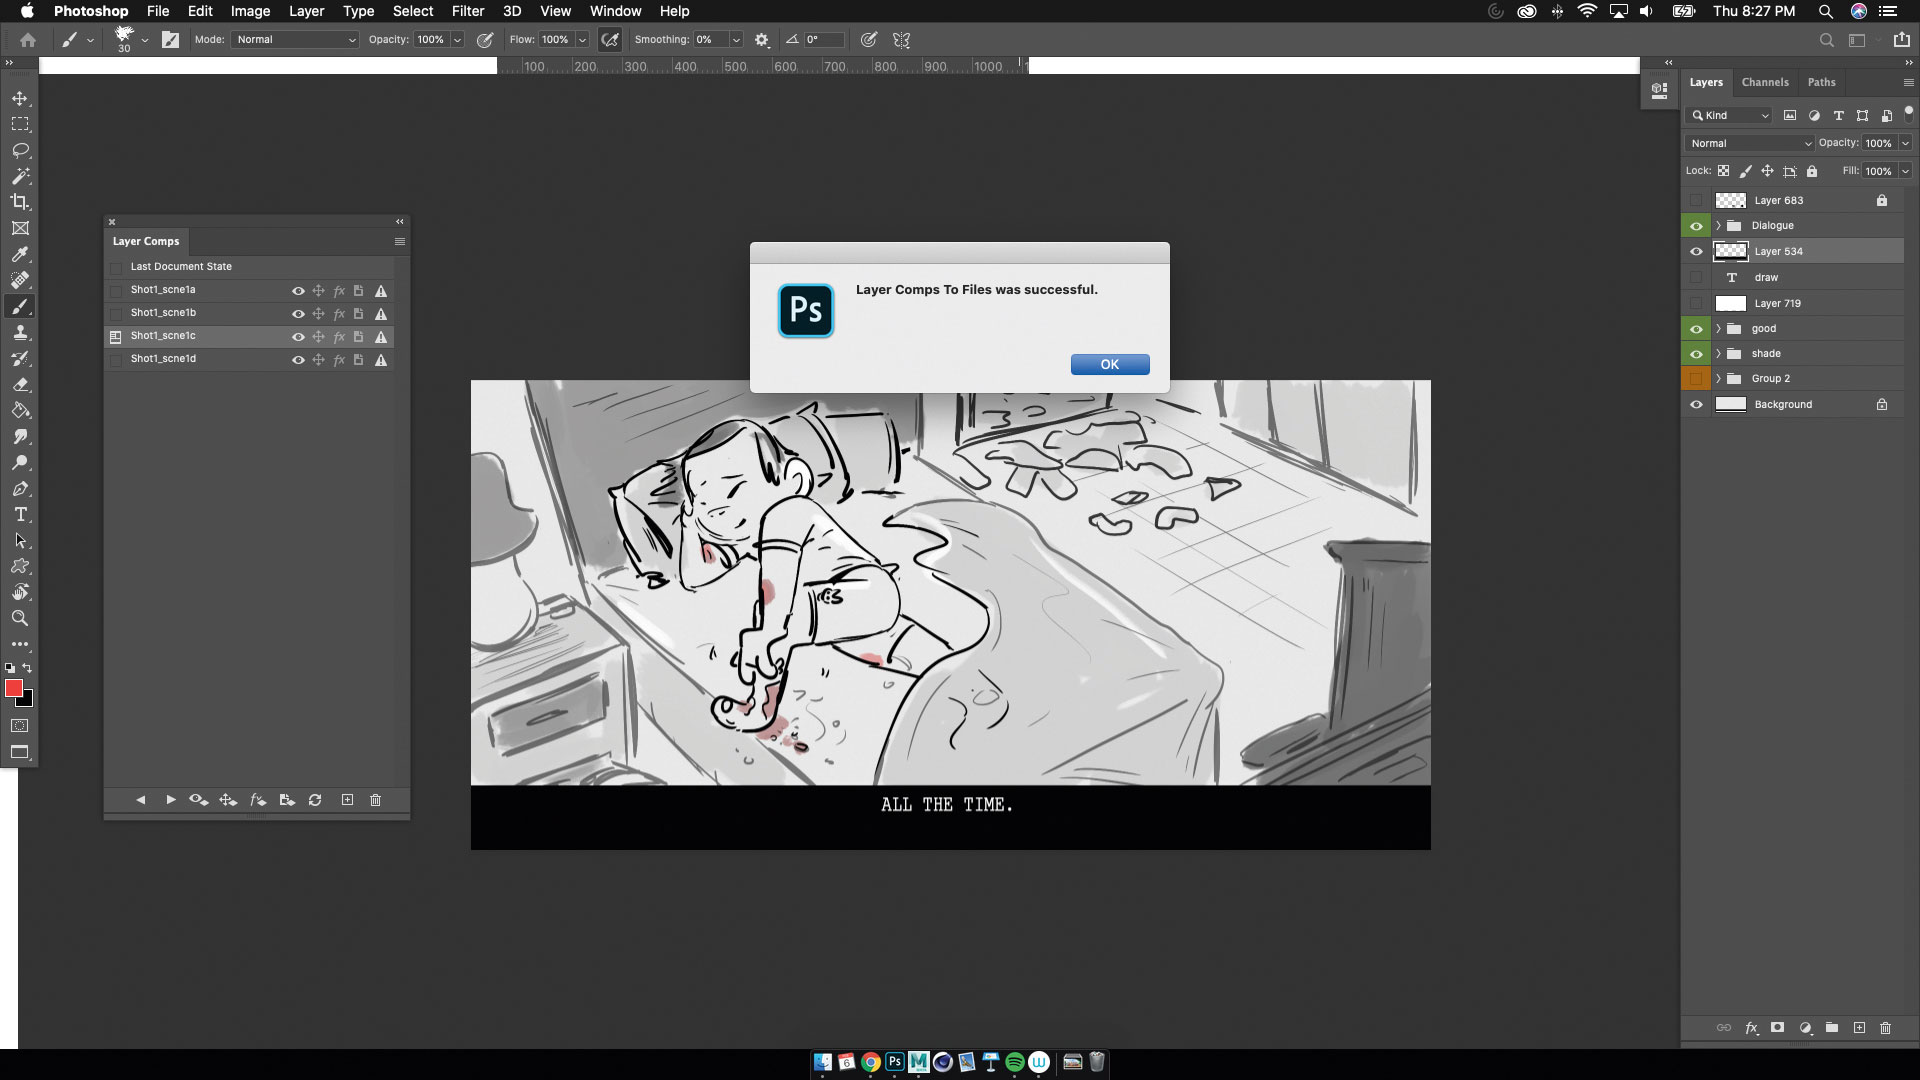
(Image: © Mark Evan Lim)
When you're done, click Run and it should start exporting each layer comp. A window will pop up telling you when the process has completed. From here you can go to the directory set and see all the comps/images there.
09. Check your exports
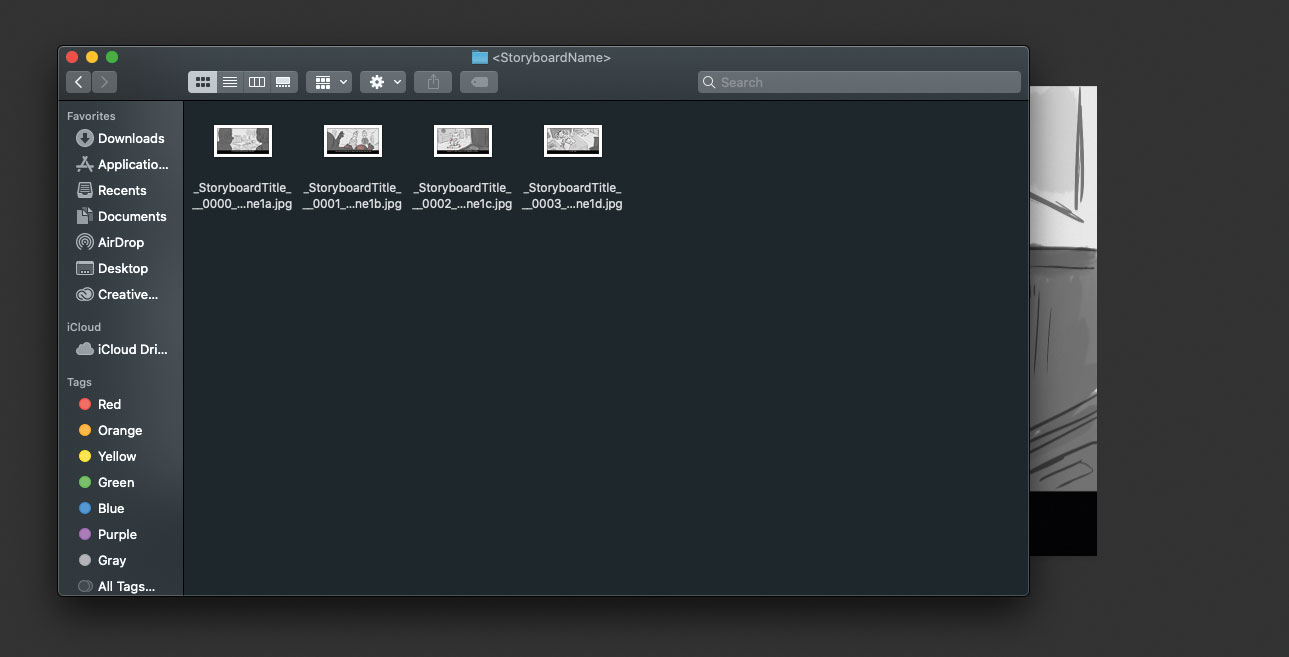
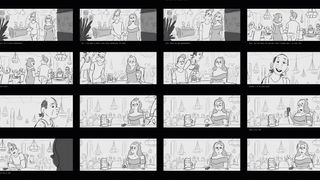
(Image: © Mark Evan Lim)
All the images have exported to the directory set. This is where you can either combine them into a PDF, or keep things as they are for a pitch or presentation. You now have a folder of all your panels ready for the next stage of your creative process.
I hope this all makes sense and you find a place for layer comps in your workflow.
This article originally appeared in ImagineFX, the world's leading digital art magazine; subscribe to ImagineFX here .
Read more:
- Download Photoshop: All you need to know
- Photoshop shortcuts you need to know
- The best free Photoshop brushes
Mark is a freelance storyboard artist and concept designer in the animation and themed entertainment industry. From a young age he's loved telling immersive stories and visualising them in exciting ways.
Related articles
Source: https://www.creativebloq.com/how-to/storyboard-in-photoshop


0 komentar:
Posting Komentar